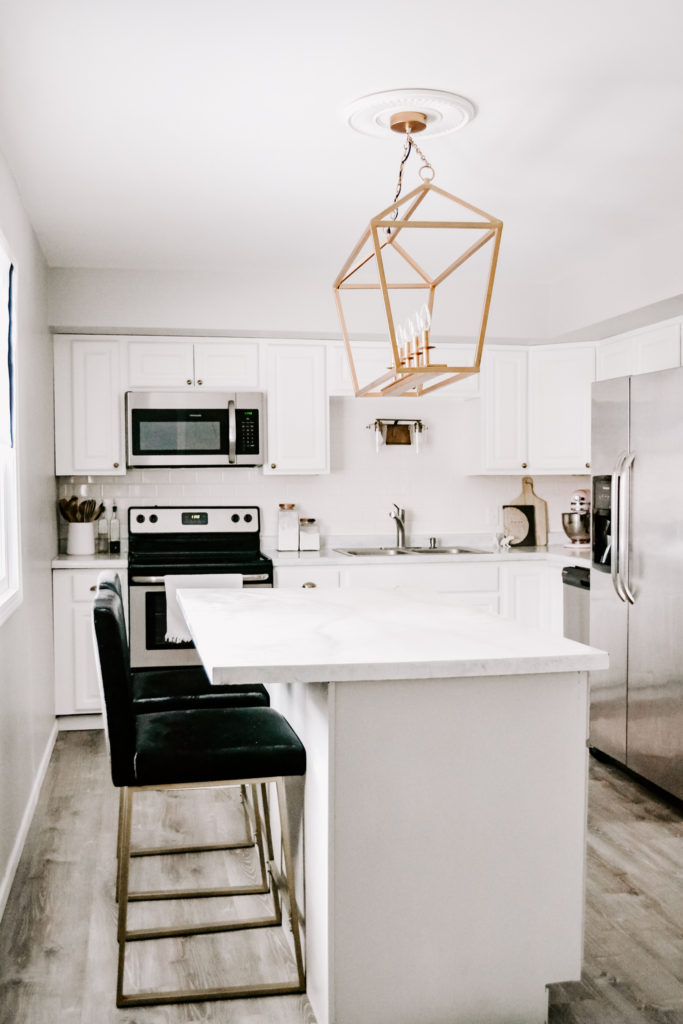
This kitchen remodel has been the biggest project we have taken on in our home since we moved in November 2017. When we first bought the house, we knew our options were limited. The wall that separates the kitchen and living room is load bearing, so even though I would have loved to have an open plan, it just wasn’t possible. Same with the kitchen layout. Moving the appliances and hook ups would have cost more money than we were willing to spend.
When renovating your home, it’s so important to keep the updates you make in line with the value of other homes in your neighborhood. Remember, home prices are calculated based on your property’s square footage and the previous sale prices of homes around you! So even though you spend a lot of money trying to update your space, it doesn’t mean you will necessarily get that back in return when it’s time to sell your house.
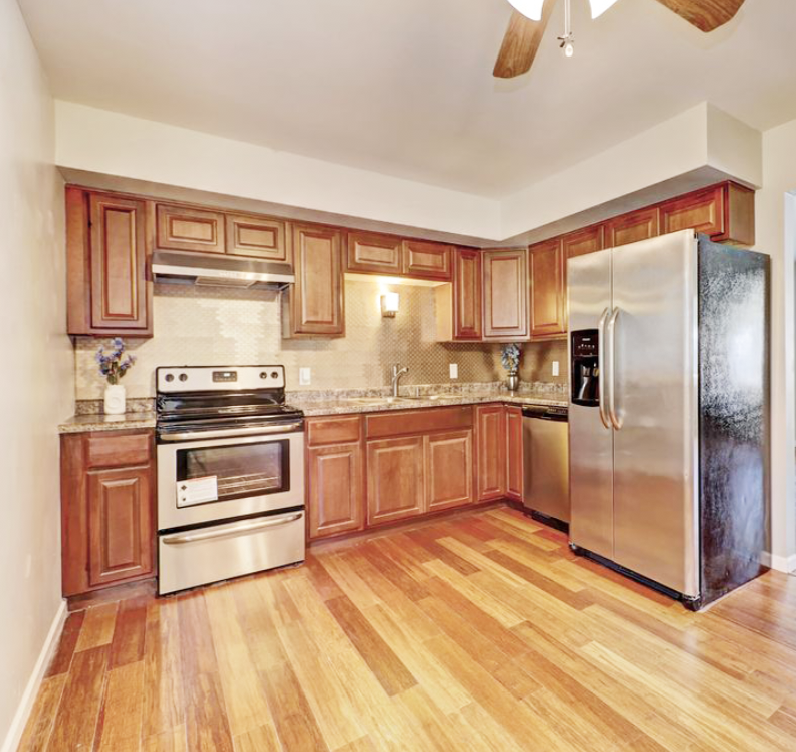
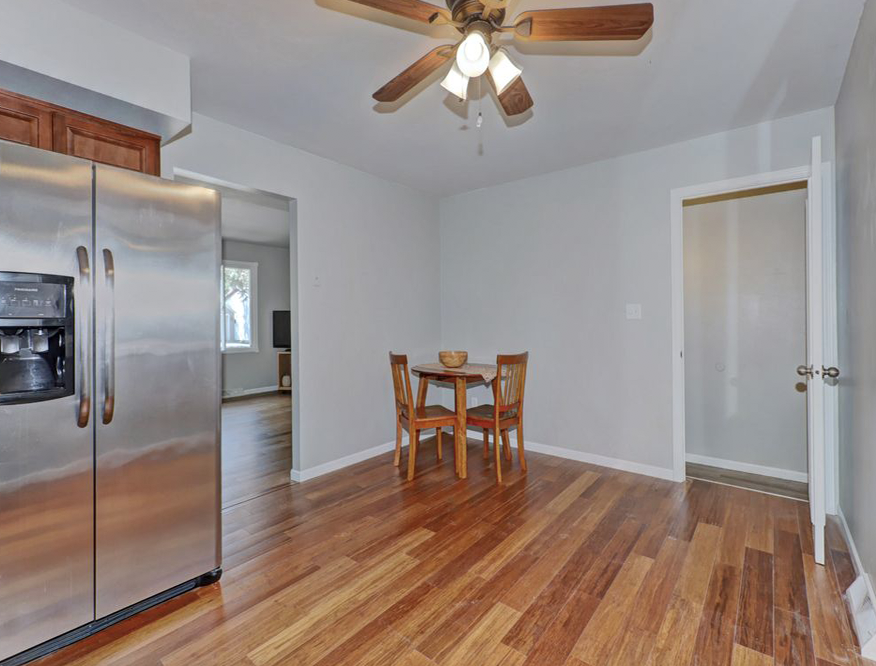
Before: Dark and Dreary Browns
But having a budget doesn’t mean you have to sacrifice your design style! With these helpful DIYs, you can add style to your home within your budget too!
Step 1: Remove the Backsplash
The backsplash that was in our kitchen was peel and stick, and falling off. Our relator actually cut her fingers on the edge of the tile when we were touring the home trying to push the falling tiles back into place. It was not good! They were pretty cool, an octagon shape with a reflective finish, but they only reflected the browns in that were in the space, making the very small kitchen that much darker. Because of this, I wanted to keep the style and design of the tile simple, clean, bright, and budget friendly! This white subway tile did just the trick. Once that was all done and installed we HAD to get rid of that lone, sad, silly light that was above the sink.
Step 2: Maximize Counter Space
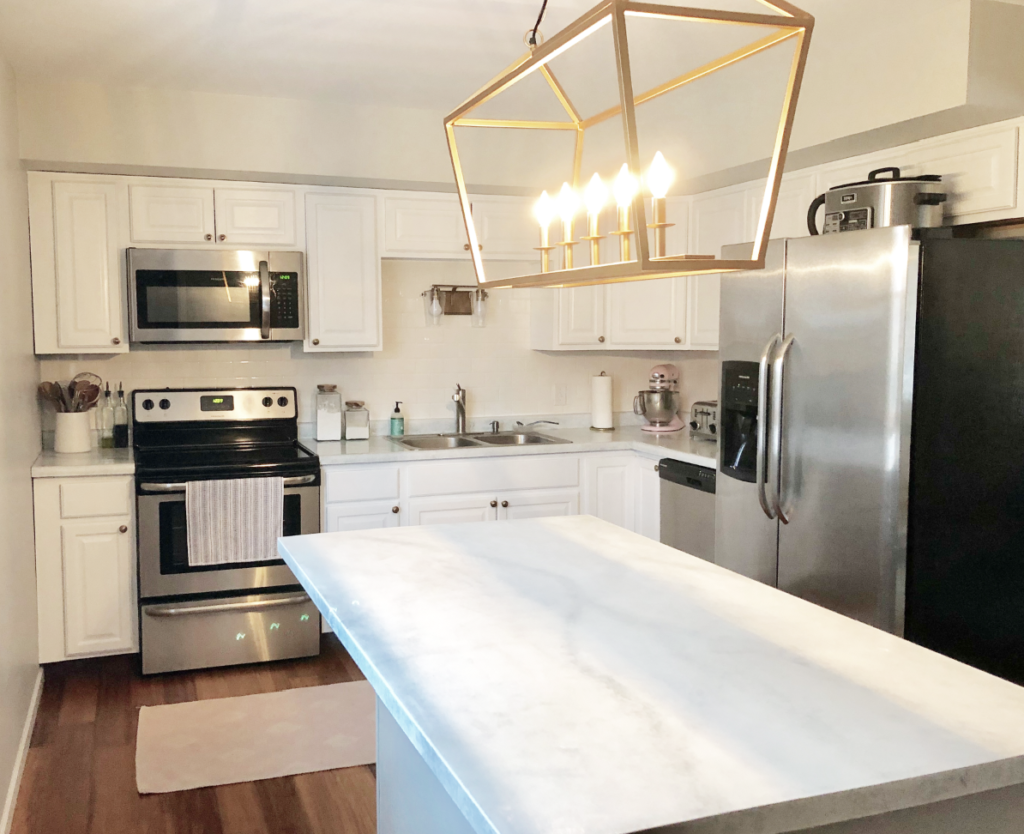
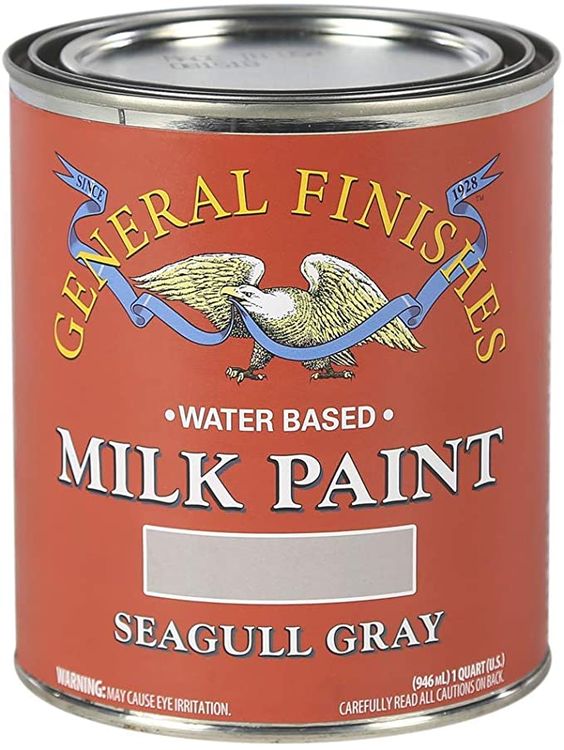
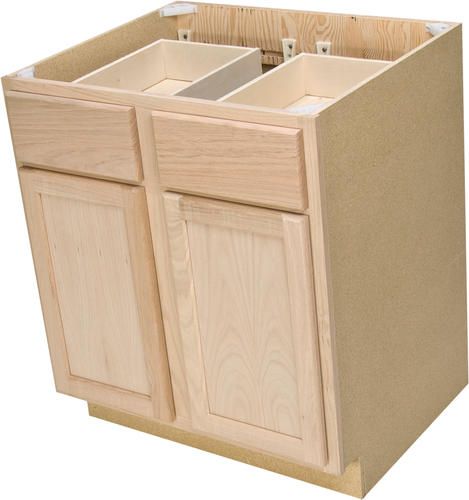
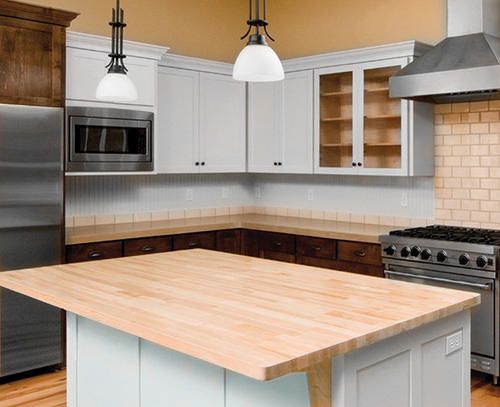
My husband LOVES to cook and I knew we needed more prep space for him to work. We were able to switch out the vent above the stove to a microwave with vent to get the old one we had off of the counter. It was amazing how much space that took up! Then I got the crazy idea for us to build our own island. I originally had planned on using IKEA but in order to make the best use of our budget, I found some unfinished ones at Menards for the best price! We use a butcher block slab as the counter and had it cut to size. We finished the island cabinet with General Finishes Milk Paint – Seagull Gray and used the High Performance Satin Finish as the top coat.
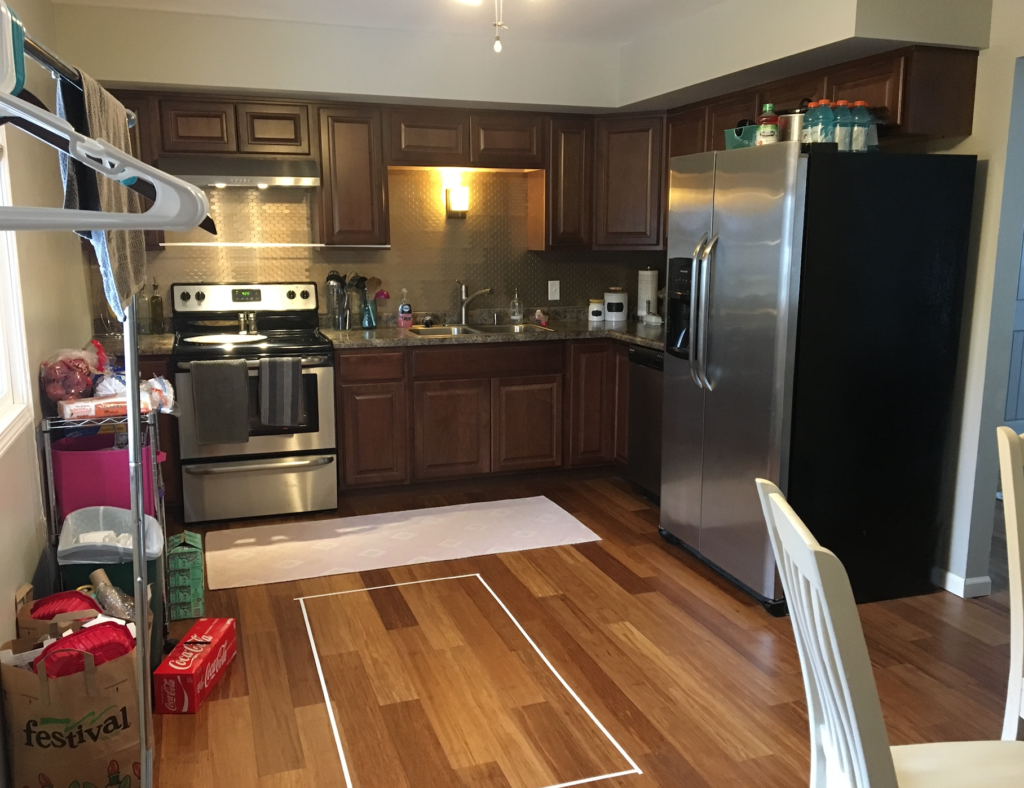
Before Island & New Backsplash 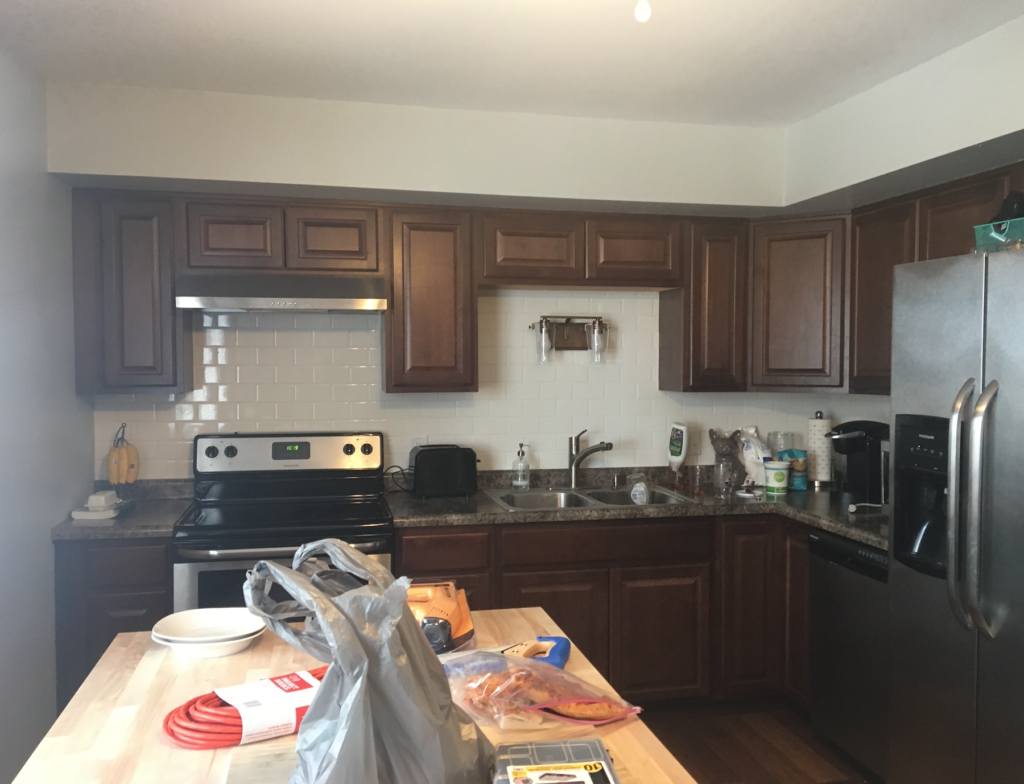
New Island, Backsplash, and Light
Step 3: Update Laminate Counter
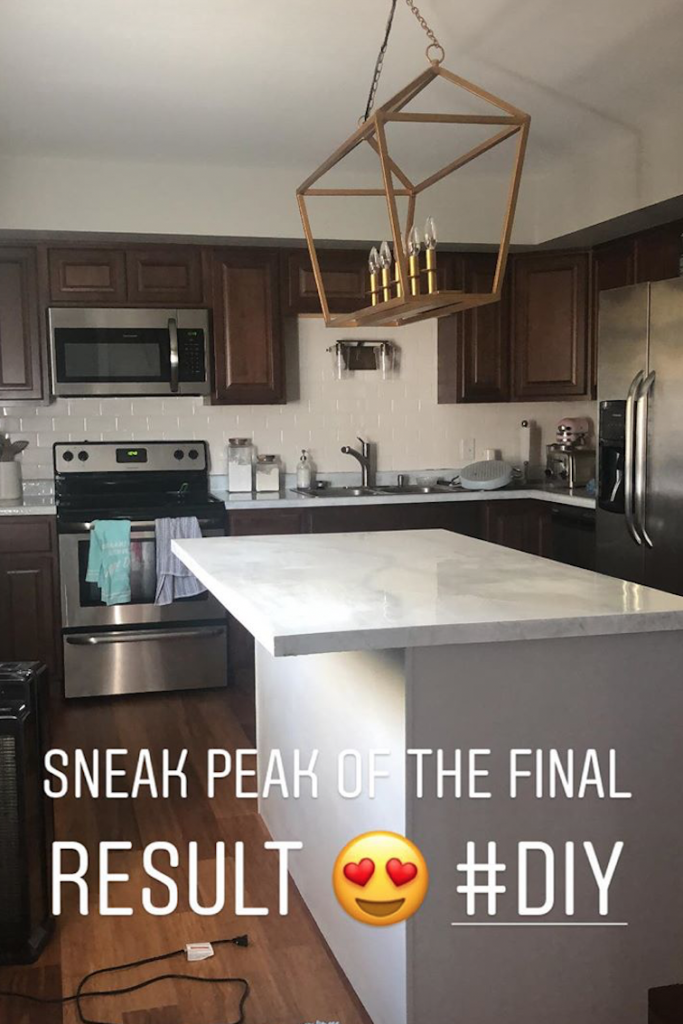
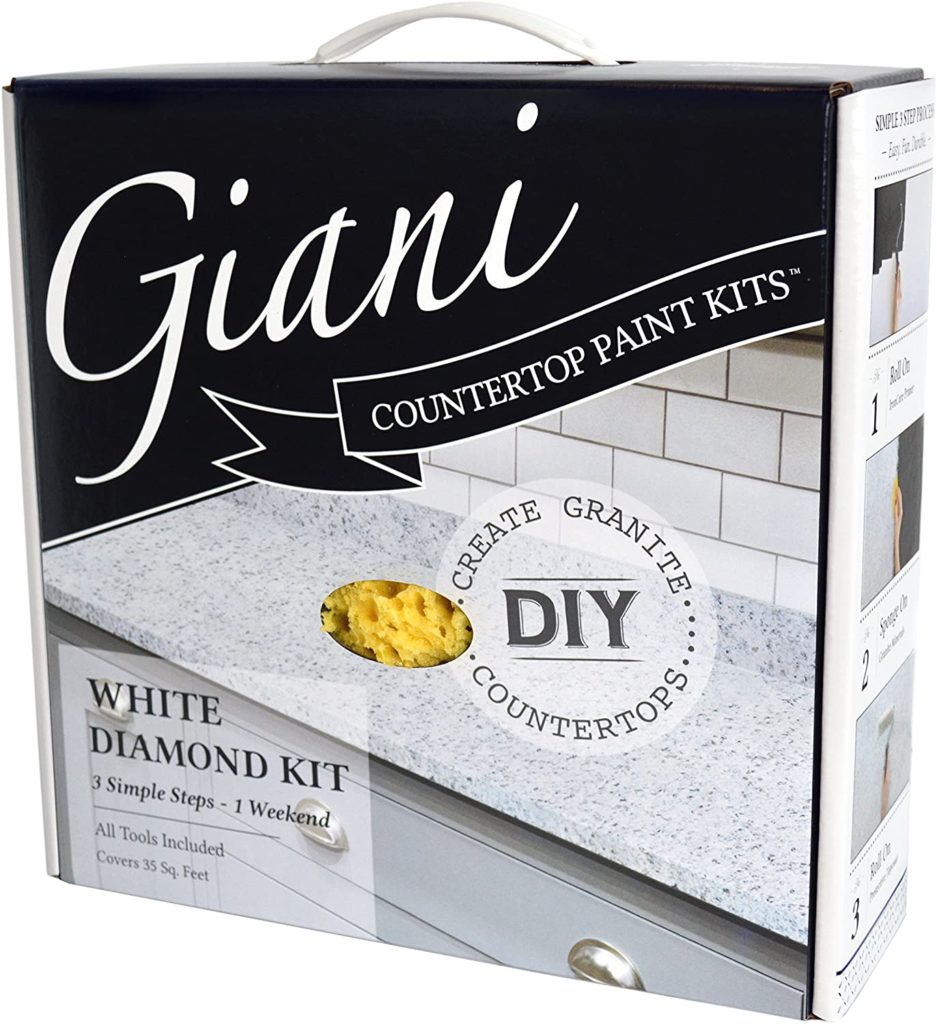
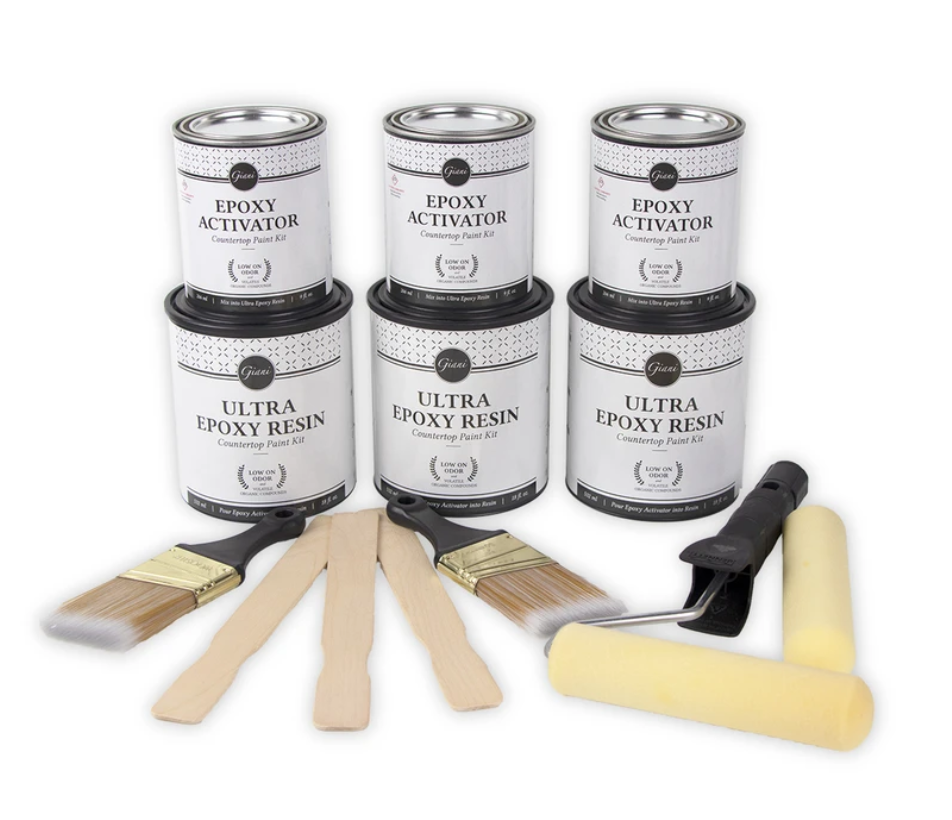
For the counters, we went with the Giani White Diamond Kit and finished it off with an Epoxy Coat to make the counter look more realistic. To get more of a marble look, I followed this DIY here! https://www.youtube.com/watch?v=grIVDUdMUZQ I did not use the top coat or the beige paint that came with the Diamond Kit to keep the countertop more white overall.
The epoxy top coat is a two person job! My husband and I had to work together and quickly to get this all smoothed out and set perfectly. Here is the tutorial video we used: https://www.youtube.com/watch?v=NiNZFcniH2k (I will do a post later on the step by step of this!)
Step 4: Paint the Cabinets & Add Hardware
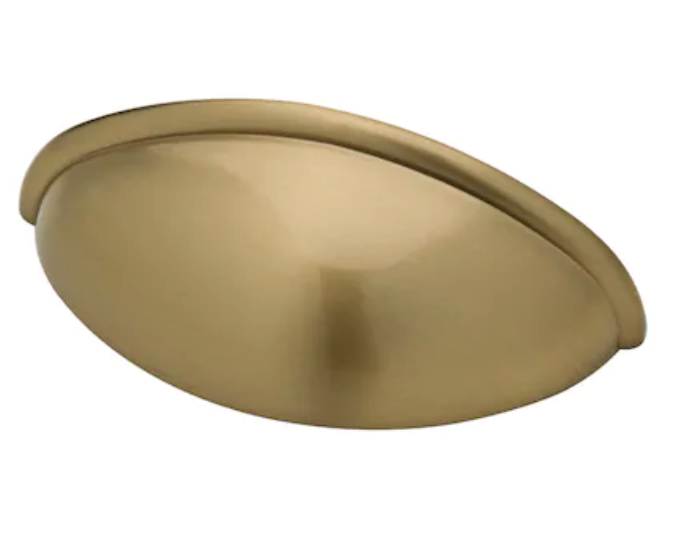
We decided to go with all white cabinets to reflect the most light from the natural and artificial sources in our space. The same brand of paint was used here as well: General Finishes Milk Paint – Snow White. For the top coat, we used the same finish as before, but mixed a little bit of the white paint in it to help the cabinets from yellowing. The cabinets also desperately needed hardware, and I was able to find some budget friendly antique brass knobs and pulls from Lowes!
Step 5: Update Floors!
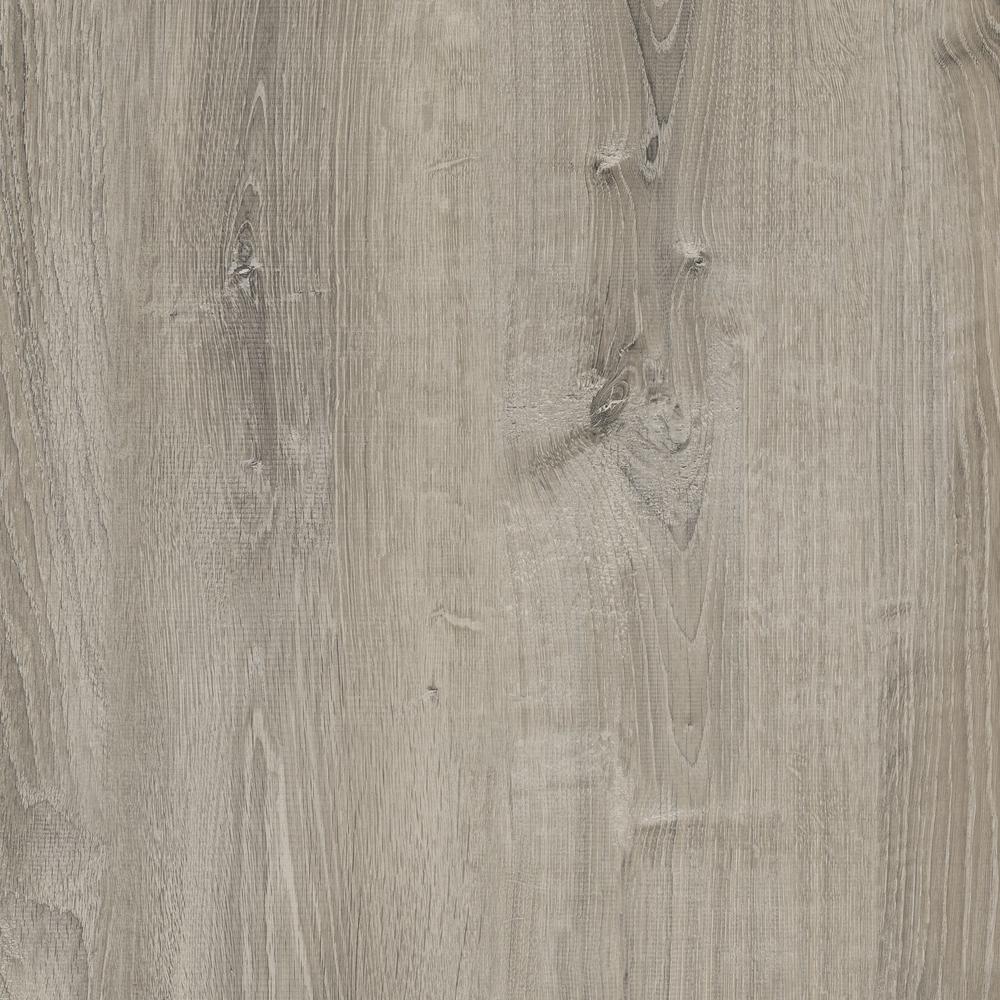
Now I know what you may be thinking, “Hannah, the floors you have look just fine! Why do you need to install new ones?” Well the cherry tone isn’t my favorite but it worked until last summer when we had some terrible storms go through the area. The power was out for 3 days (and even longer in other areas of Wisconsin). When that happened, all of the ice melted in the fridge and there was some serious water damage done to the floor. We tried everything to dry it out but it was no use. The water was just pooling beneath the floor boards and soaking back through the floor planks. We had to get the flooring out of there because of the mold that was sure to be growing underneath – yuck! The new floor is LVT from Home Depot’s LifeProof brand, a much needed change to help prevent future water damage. Pet and little one friendly too! The color change was night and day, it made the space look 10x better! This is probably where we spent the most money on our kitchen reno, but absolutely worth it.
After: Chic and Bright Oasis
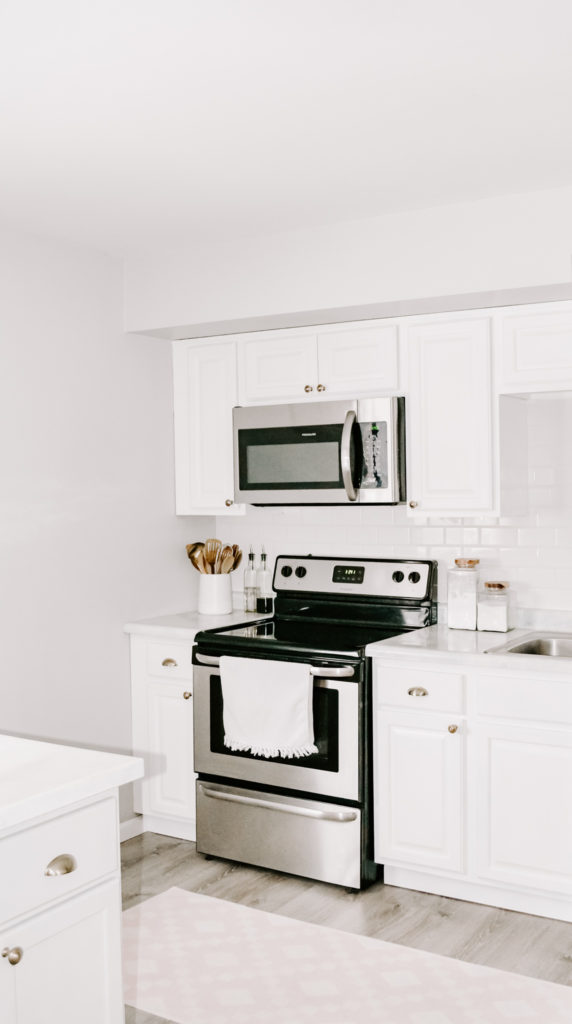
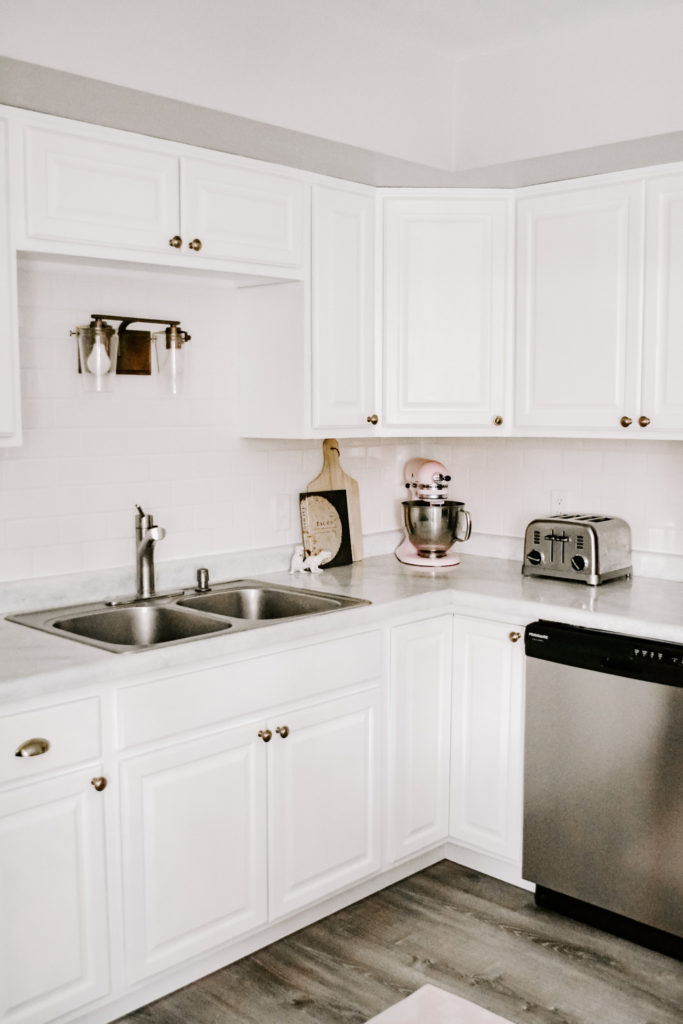
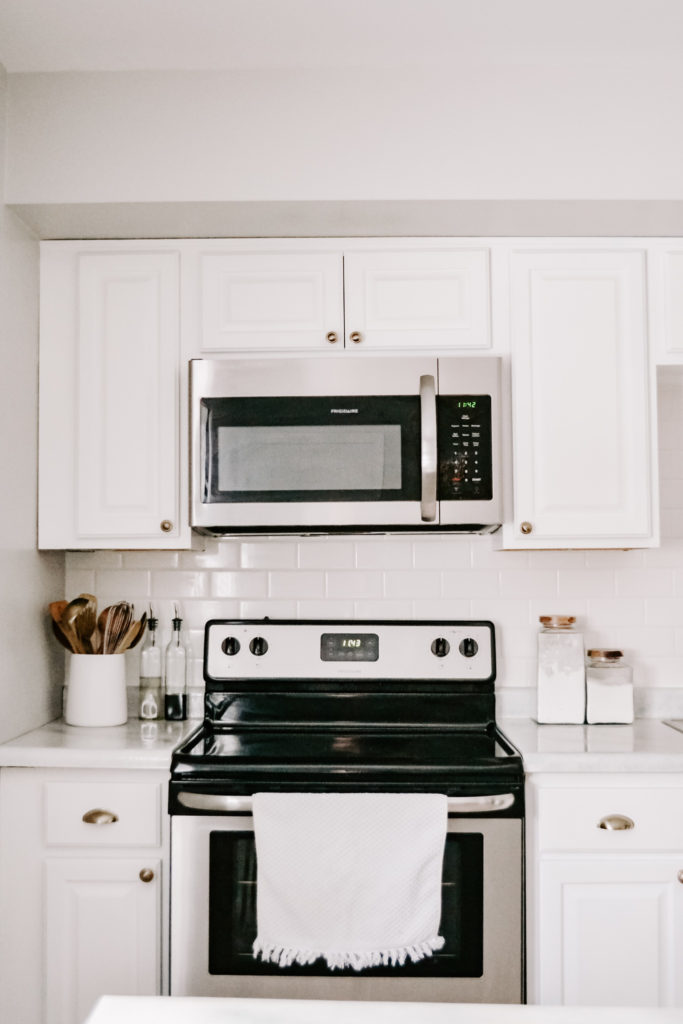
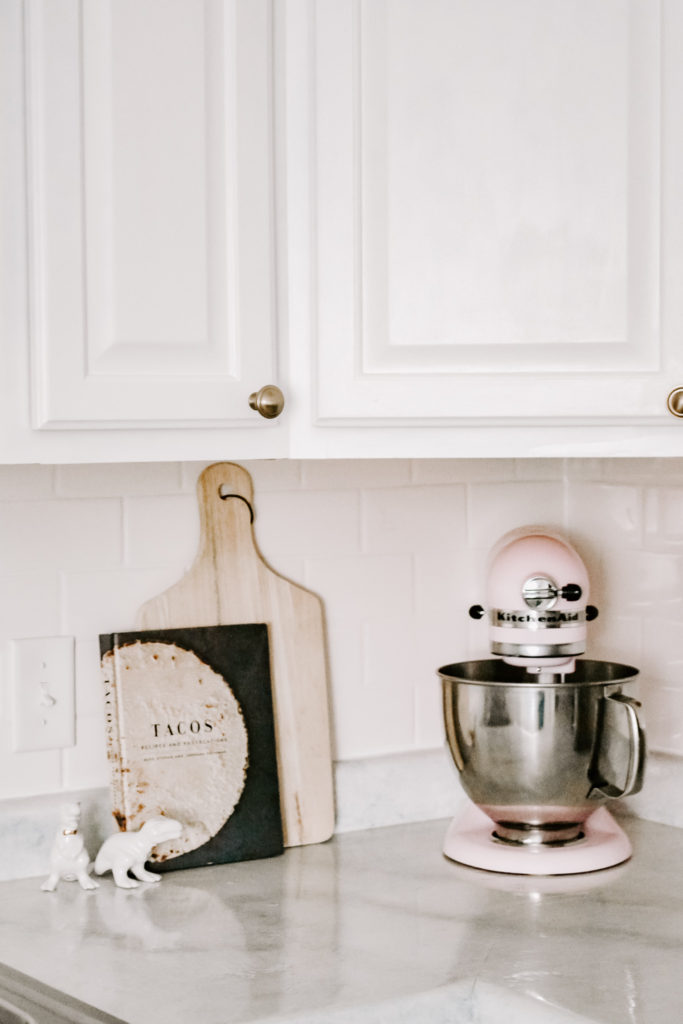
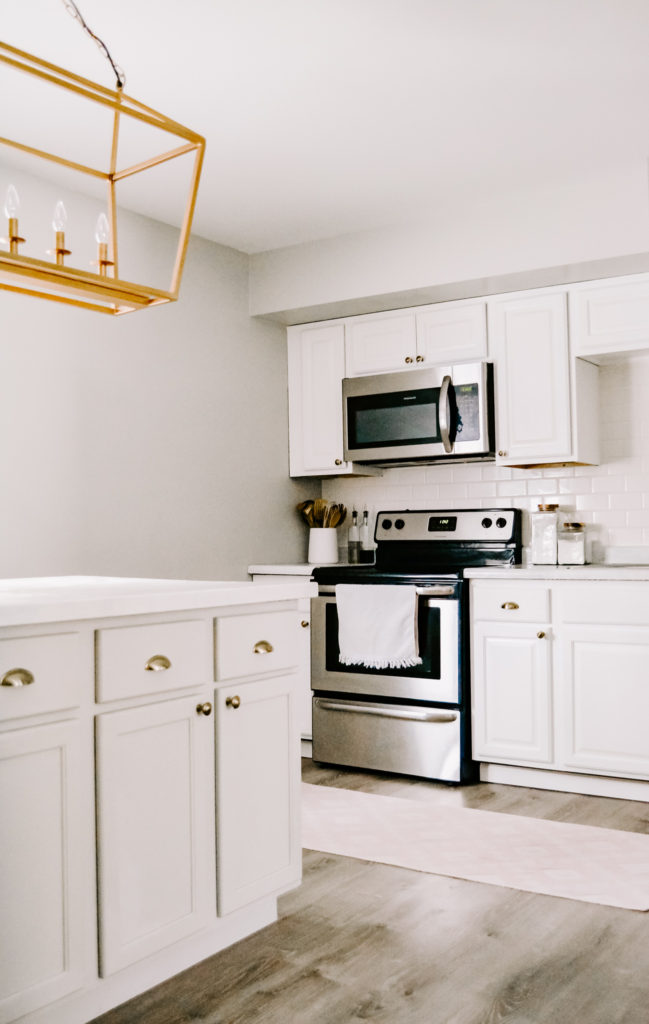
Our kitchen is now one of my favorite rooms in the house. It is so refreshing, light, and airy. It makes me smile every time I walk in – which is what a design is supposed to do! We love to spend time in here, cooking, working, or reading in our little dining nook. And, that you will have to wait and see until May 19th! Part 2 of our kitchen remodel will be debuting in Rental Style! You can preorder now on Amazon!
I can’t wait for you all to see it!






Leave a Reply